简介
Fancybox 是一个流行的 JavaScript 图片和媒体轻盒效果库,用于在网页中展示图片、视频、内联内容和多媒体内容。
它提供了一种优雅而灵活的方式来创建响应式的弹出窗口,使用户能够以漂亮的方式浏览和交互。

安装
# Usage with NPM
npm install --save @fancyapps/ui

# and with Yarn
yarn add @fancyapps/ui
引入
import { Fancybox } from "@fancyapps/ui";
import "@fancyapps/ui/dist/fancybox/fancybox.css";
使用
把 img 标签用 a 标签包裹,在 a 标签上添加 3 个属性:
href或data-src,指定要在 Fancybox 中显示的内容源。data-fancyboxdata-caption在内容下显示标题
<a href="image-a.jpeg" data-fancybox data-caption="Single image">
  <img src="image-a.jpeg" />
</a>
调用 “Fancybox.bind()” 方法启用 Fancybox
Fancybox.bind("[data-fancybox]", {
  // Your custom options
});
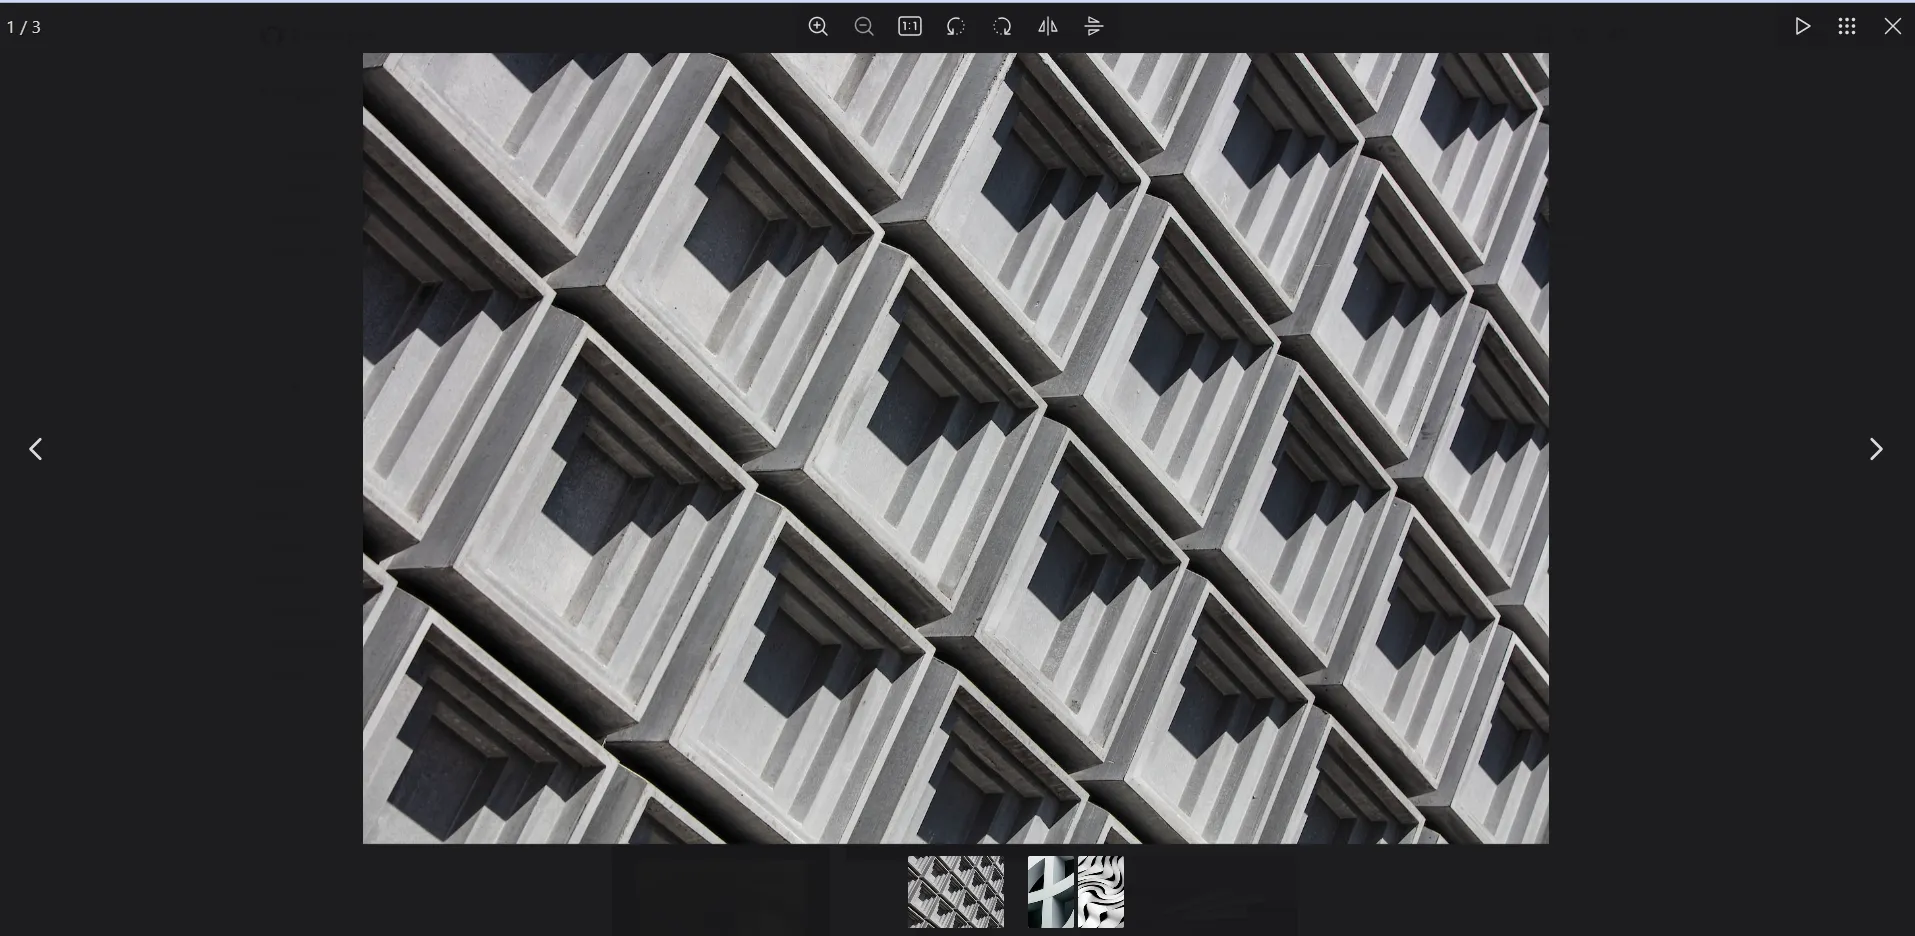
现在,当用户点击图片后,Fancybox 将启动。
画廊
通过向多个元素添加相同的属性 data-fancybox 值来创建的。
<a href="image-a.jpeg" data-fancybox="gallery" data-caption="Caption #1">
  <img src="image-a.jpeg" />
</a>

<a href="image-b.jpeg" data-fancybox="gallery" data-caption="Caption #2">
  <img src="image-b.jpeg" />
</a>Fancybox.bind('[data-fancybox="gallery"]', {
// Your custom options
});markdown-it 构建
很多博客都是通过 markdown-it 插件来解析 md 文件的,如果你用的是其它插件,以下的用法也可以为你提供一些思路!
这里是利用 markdown-it 内置的图片渲染规则将 img 标签处理成 Fancybox 所需要的格式。
const MarkdownIt = require("markdown-it");

const md = new MarkdownIt();
const defaultRender = md.renderer.rules.image;

md.renderer.rules.image = (...args) => {
  const [tokens, idx] = args;
  const token = tokens[idx];
  const src = token.attrs[token.attrIndex("src")][1];
  const alt = token.content || "";

  // 生成新的 a 标签并包裹 img 标签
  const link = `<a href="${src}" data-fancybox="gallery" data-caption="${alt}">${defaultRender(
    ...args
  )}</a>`;
  return link;
};
踩坑记录
1、放大图片后,浏览器返回无效。因为点击放大之后地址栏上加了一串 hash,相当于是跳转了另一个链接。在 option 配置中关闭即可
Fancybox.bind("[data-fancybox]", {
  Hash: false,
});
2、我使用的是 Vitepress 构建的静态博客,接入 Fancybox 插件后在运行时没有问题,但是打包出现了问题。
import { Fancybox } from "@fancyapps/ui";
         ^^^^^^^^
SyntaxError: Named export 'Fancybox' not found. The requested module '@fancyapps/ui' is a CommonJS module, which may not support all module.exports as named exports.
CommonJS modules can always be imported via the default export, for example using:

import pkg from '@fancyapps/ui';
const { Fancybox } = pkg;
按照提示修改也并没有用,可能的原因是 “@fancyapps/ui” 模块的导出方式与我的导入方式不兼容。
于是我在 node_modules 中找到 @fancyapps 库,看到了一个 umd 格式的文件,它支持通过 CommonJS 或 AMD 的方式导入模块。
于是就顺利解决了!
import Fancyapps from "@fancyapps/ui/dist/fancybox/fancybox.umd";
Fancyapps.Fancybox.bind("[data-fancybox]", {
  Hash: false,
});